


PHLEARN - Shadow.mp4
Download: PHLEARN - Shadow.mp4
 Pobierz plik
 Oglądaj online


How to calculate light in shadows
Creating realistic shadows in Photoshop really is about the hardest thing you can do. The reason for this, is that there is so much more going on than what most people think about. In today’s episode, I am going to shed some light on what needs to be done to create perfect composites.
Today’s Episode Timeline
0:32 – Announcing Amelia’s Move & what that means for you
1:00 – Announcing the winners from last week’s contest!
3:00 – The secret that no one thinks about when doing composites
4:20 – Showing light bouncing back and forth
6:20 – Why this contest is going to benefit you
7:30 – Adding a bit more to the mushroom
8:50 – Fixing exposure and color
10:10 – Taking the light and color from the mushroom
16:20 – Adding depth to the shadow
19:30 – EPISODE PUMP UP
Komentarze:
Aby dodawać komentarze musisz się zalogować

Inne foldery z plikami do pobrania
-
Actions and Texture for Photoshop -
Adobe Dreamweaver -
Adobe Photoshop -
AKCJE -
Angielskie i inne -
biznes -
biznes 2 -
CreativeLIVE -
Dokumenty -
ebooki, ksiazki o fotografii - okladki -
Galeria -
Kelby Training -
ksiazki - jeszcze nie posegregowane -
KURSY PHOTOSHOP -
phlearn -
PHLEARN -
PHOTOSHOP -
Photoshop CS6 kurs -
Photoshop TopSecret -
Przemiana Zdjęć Portretowych -
Struktury -
TEKSTURY -
Triki -
Zestaw I
Inne pliki do pobrania z tego chomika

oglądaj online
Halloween is back, and we are creating scar tiss ...


 Halloween is back, and we are creating scar tissue from scratch. Thanks to Petter, Chad & Eric
We start by creating a custom brush to bring in some variability in the stroke. Things like scattering, size jitter, opacity jitter are a huge help in creating effects that look more real. We are using layer FX to bring out the highlights and shadows, and make the brush stroke look as though it is raised off the surface of the skin.
Halloween is back, and we are creating scar tissue from scratch. Thanks to Petter, Chad & Eric
We start by creating a custom brush to bring in some variability in the stroke. Things like scattering, size jitter, opacity jitter are a huge help in creating effects that look more real. We are using layer FX to bring out the highlights and shadows, and make the brush stroke look as though it is raised off the surface of the skin.
oglądaj online
Custom Brushes In Photoshop
Within photoshop, m ...

 Custom Brushes In Photoshop
Within photoshop, making custom brushes is a great easy way to add a lot of great detail to a photo. In today’s episode we go over some settings that will make your brushes even better. Both brushes we make in today’s episode are available here free.
Light Painting In Photoshop
The light streaks in this photo are not photoshoped in, they were actually there. To get an effect like this just use a light source such as a flashlight or a cell phone and move it around during a long exposure. For this photo, we used a 6 second exposure and I ran behind Amelia with my iPhone to create to light streak.
Custom Brushes In Photoshop
Within photoshop, making custom brushes is a great easy way to add a lot of great detail to a photo. In today’s episode we go over some settings that will make your brushes even better. Both brushes we make in today’s episode are available here free.
Light Painting In Photoshop
The light streaks in this photo are not photoshoped in, they were actually there. To get an effect like this just use a light source such as a flashlight or a cell phone and move it around during a long exposure. For this photo, we used a 6 second exposure and I ran behind Amelia with my iPhone to create to light streak.
oglądaj online
Create Skin Texture Using Clipping Masks
Af ...
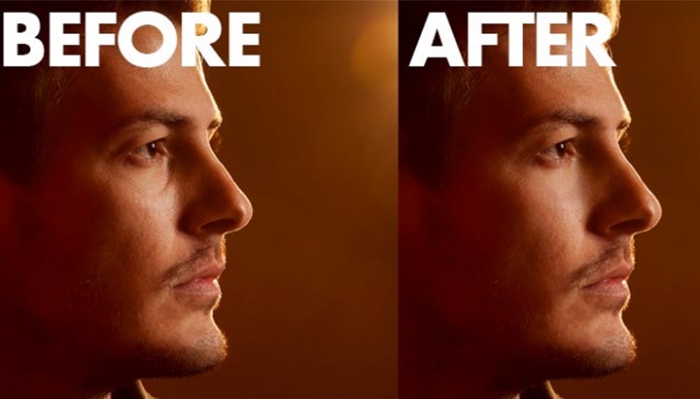
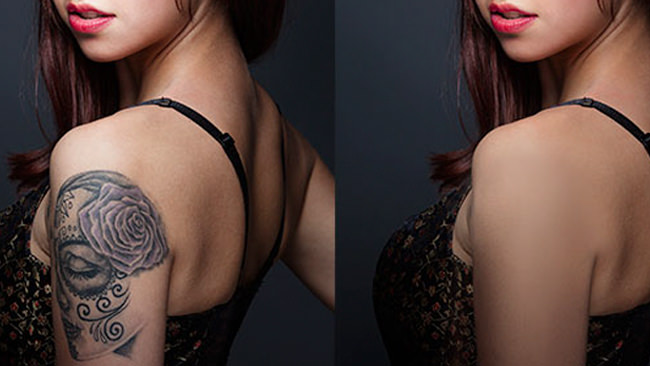
 Create Skin Texture Using Clipping Masks
After we’ve brushed over the shadows underneath the eye, it’s important that skin texture we create is applied only to the brushed area. Using a clipping mask is a great way to achieve a seamless transition between the original skin and our homemade skin.
Using Smart Objects & Filters
Using smart objects will allow you to treat your filters such as gaussian blur almost like layers, letting you change the opacity and visibility after they’ve been applied. To create a realistic skin texture, you can create a layer with 50% grey, add noise, and turn it into a smart object. using a combination of the gaussian blur and emboss filters will create a perfect skin texture over the brushed area.
Create Skin Texture Using Clipping Masks
After we’ve brushed over the shadows underneath the eye, it’s important that skin texture we create is applied only to the brushed area. Using a clipping mask is a great way to achieve a seamless transition between the original skin and our homemade skin.
Using Smart Objects & Filters
Using smart objects will allow you to treat your filters such as gaussian blur almost like layers, letting you change the opacity and visibility after they’ve been applied. To create a realistic skin texture, you can create a layer with 50% grey, add noise, and turn it into a smart object. using a combination of the gaussian blur and emboss filters will create a perfect skin texture over the brushed area.
oglądaj online
Multiple Exposures
Although it is sometimes ...
 Multiple Exposures
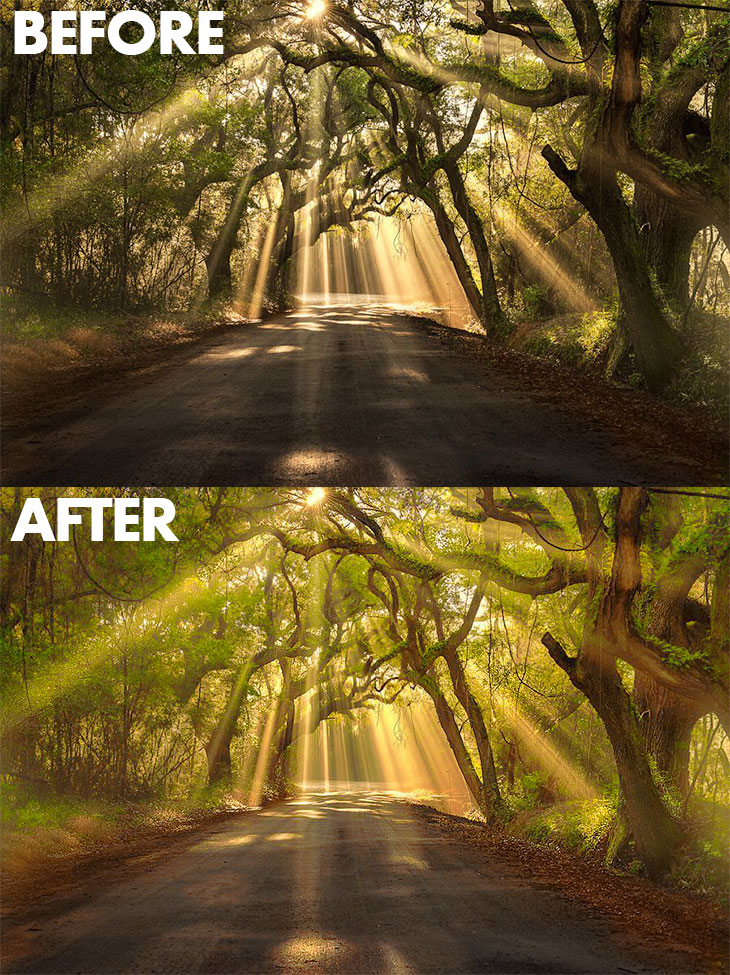
Although it is sometimes frowned upon, the combining of multiple exposures can really take your photos to the next level when used in good taste. Like all good things in life, the key to combining multiple exposures is to not overdo anything. By using curves to lighten our shadows and darken our highlights, we get an image that has a lot of visible detail but still doesn’t appear fake. Adding colors helps to give the image a solid color scheme, again, without overdoing it.
Selective Sharpening
Sharpening is a great way to add very small highlights to an image. By using the standard high pass sharpening method and masking it out where we don’t want it, we get sparkling highlights only where the beams of light hit the ground. We can then do the opposite, creating a fuzzy layer and masking it in where we don’t want to draw attention, such as the upper corners of the image.
Multiple Exposures
Although it is sometimes frowned upon, the combining of multiple exposures can really take your photos to the next level when used in good taste. Like all good things in life, the key to combining multiple exposures is to not overdo anything. By using curves to lighten our shadows and darken our highlights, we get an image that has a lot of visible detail but still doesn’t appear fake. Adding colors helps to give the image a solid color scheme, again, without overdoing it.
Selective Sharpening
Sharpening is a great way to add very small highlights to an image. By using the standard high pass sharpening method and masking it out where we don’t want it, we get sparkling highlights only where the beams of light hit the ground. We can then do the opposite, creating a fuzzy layer and masking it in where we don’t want to draw attention, such as the upper corners of the image.

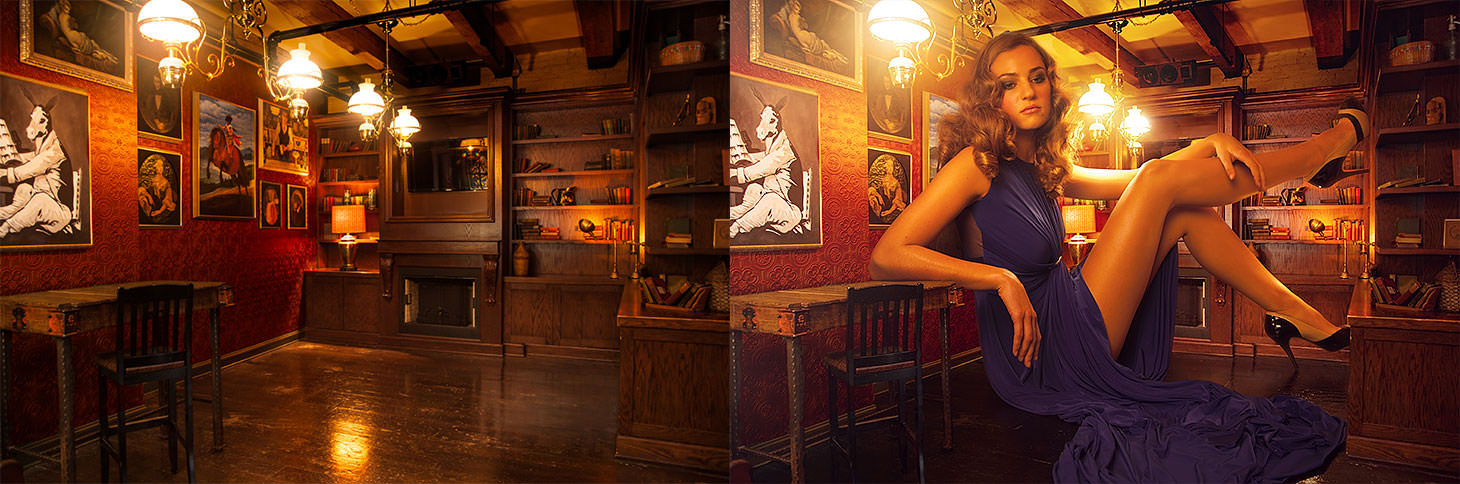
 • Select Hair Perfectly
• Learn to blend exposures
• Light Flare Textures Included! • Master the Pen Tool
• Create Custom Brushes
• Composite Action Included!
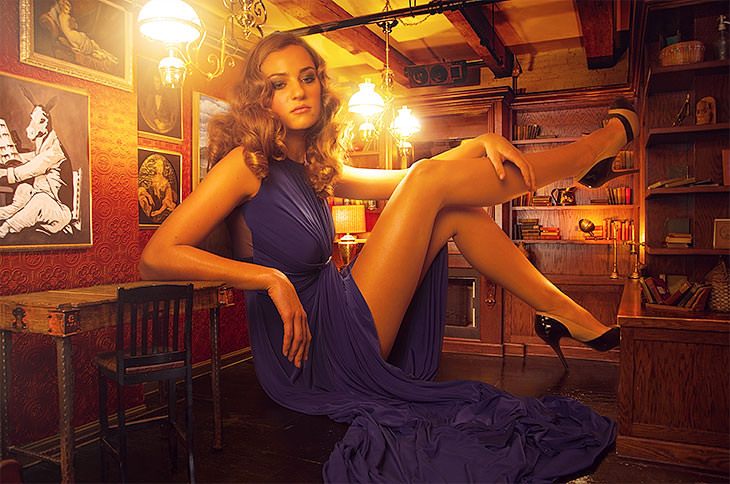
In this 2:40 HR very advanced Photoshop tutorial we cover every detail in creating a realistic composite from advanced selections, exposure and color blending to stylization and creating custom brushes.
BONUS: Free included brushes, compositing action and light flare textures!
• Select Hair Perfectly
• Learn to blend exposures
• Light Flare Textures Included! • Master the Pen Tool
• Create Custom Brushes
• Composite Action Included!
In this 2:40 HR very advanced Photoshop tutorial we cover every detail in creating a realistic composite from advanced selections, exposure and color blending to stylization and creating custom brushes.
BONUS: Free included brushes, compositing action and light flare textures!


 • Cutting Objects Out
• Composite Theory
• Step & Repeat • Custom Brushes
• Color Matching
• Pen Tool
If you have ever needed to cut someone out of their background and place them onto a new one, this tutorial is perfect for you.
We cover very advanced techniques for cutting objects out, and creating amazing layer masks. We also go over some special techniques for matching color.
• Cutting Objects Out
• Composite Theory
• Step & Repeat • Custom Brushes
• Color Matching
• Pen Tool
If you have ever needed to cut someone out of their background and place them onto a new one, this tutorial is perfect for you.
We cover very advanced techniques for cutting objects out, and creating amazing layer masks. We also go over some special techniques for matching color.
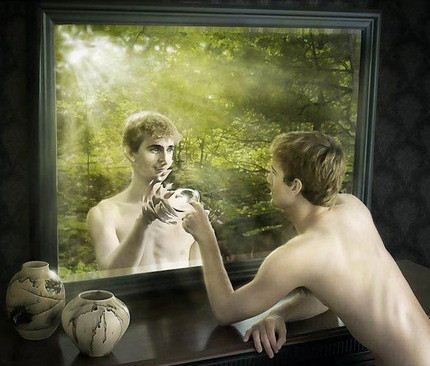



 • Match Lighting
• Included Action and Brush
• Color Perfectly with Channels • Scale Your Subject Perfectly
• Create a Perfect Shadow
• Create Edge Glow
There are some secrets to making a composite perfect, and that is what this photoshop tutorial is all about. We go over every detail on how to take an image that was shot in a studio and put it in a new background seamlessly.
You will learn an amazing technique developed specifically for this tutorial on sizing your subject perfectly every time.
• Match Lighting
• Included Action and Brush
• Color Perfectly with Channels • Scale Your Subject Perfectly
• Create a Perfect Shadow
• Create Edge Glow
There are some secrets to making a composite perfect, and that is what this photoshop tutorial is all about. We go over every detail on how to take an image that was shot in a studio and put it in a new background seamlessly.
You will learn an amazing technique developed specifically for this tutorial on sizing your subject perfectly every time.